
Please first go to www.feedbackwhiz.com and click on the “Start Free Trial” button to sign up.

You will then be navigated to the sign up page to register a new account:
Please enter your email address, this will be for login purposes and password to register.
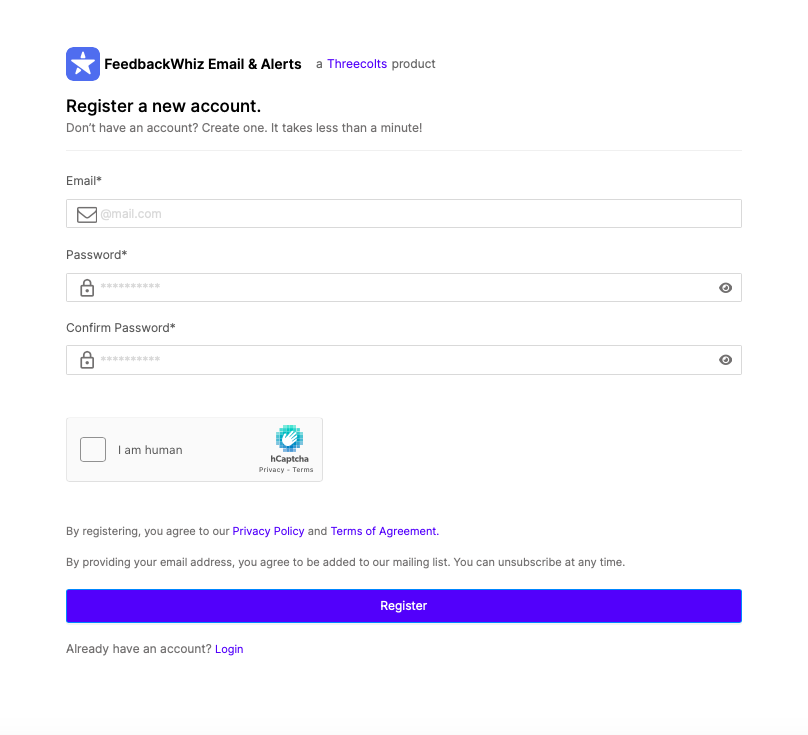
Once you have registered the account, please check your email to confirm registration.
Once you have logged in, you will be navigated to https://manager.threecolts.com/v2/products
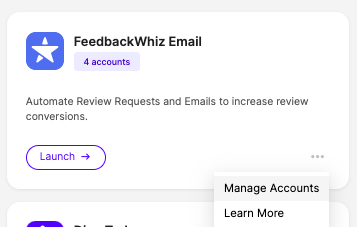
This is where all of your Threecolts products can be located.
Click on “Manage Accounts”
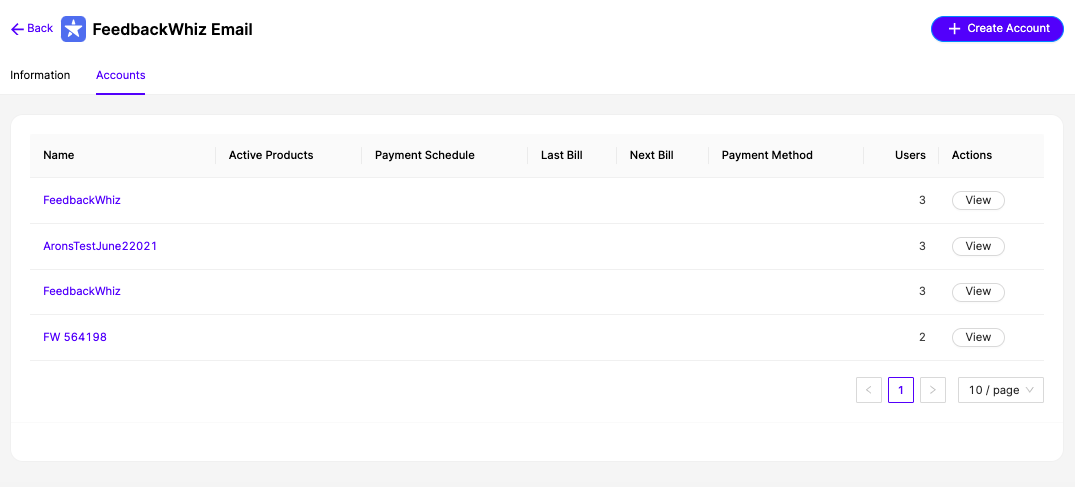
Click on “+Create Account”
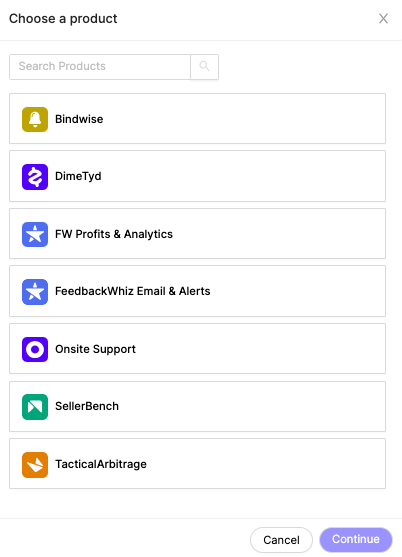
Choose a product and click continue To add a new account, please select which product you are adding:
And click continue to add the account.

TO SET UP THE ACCOUNT:
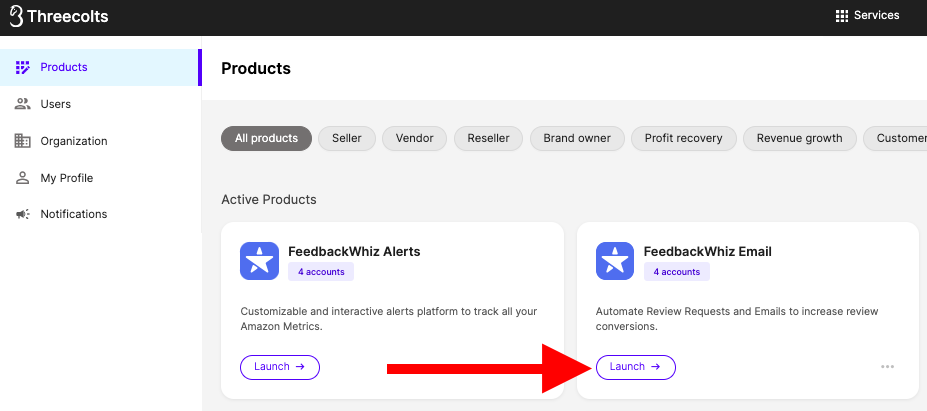
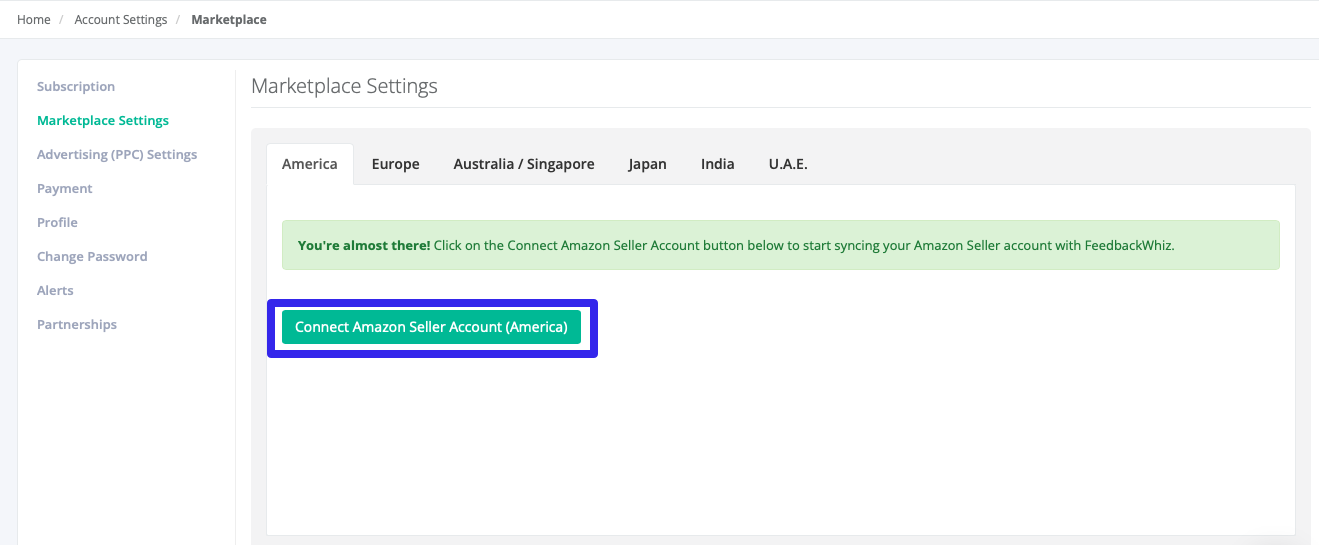
You can launch the FeedbackWhiz account and connect the marketplace here https://feedbackwhiz.threecolts.com/account/settings/#!/marketplace
Once you have clicked the button to connect the Seller Account this pop up will appear:
Step 1: Make sure you are ONLY logged into the Amazon account you wish to connect when clicking on “Authorize FeedbackWhiz”
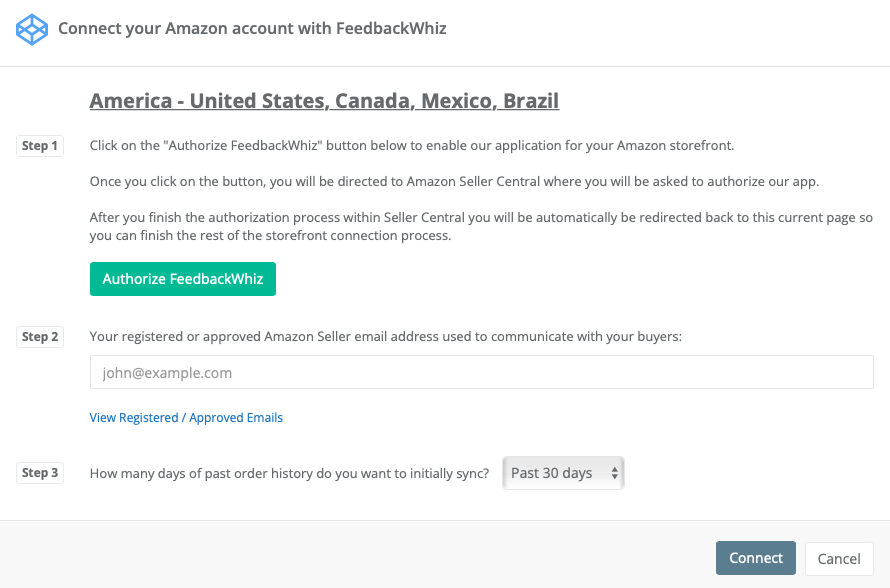
Step 2: Please enter the registered or approved Amazon Seller email address used to communicate with your buyers. Can be located here https://sellercentral.amazon.com/messaging/permissions
Step 3: Select how many days of past order history you wish to initially sync (Up to the last 365 days)
*Please allow a few hours for the order data to sync.
ACCOUNT NAVIGATION:
You can easily navigate between accounts via the dropdown from the Threecolts top navigation toolbar

TO INVITE USERS:
Please go to https://manager.threecolts.com/v2/users
Click on “Invite User” button
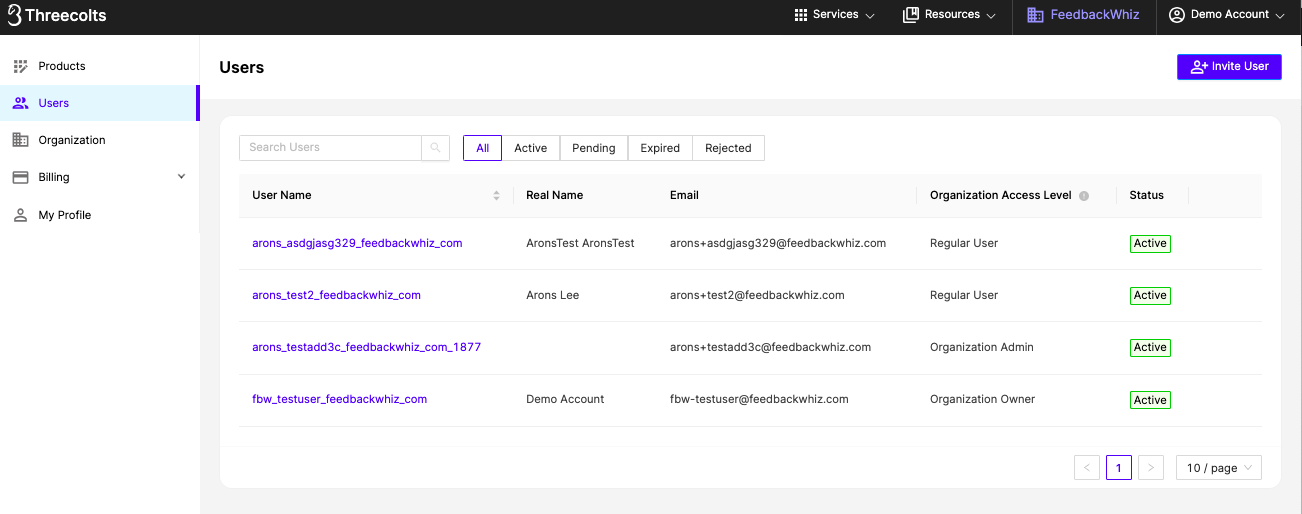
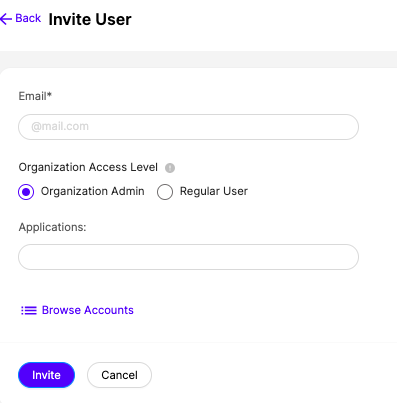
For the new Seller Account you are adding, please enter the email address.
Select the Organization Access Level: Organization Admins have the ability to make org level changes,
i.e. invite new users, update account settings, and update & view billing details.
Admins may also choose which Accounts to have access to.
Select the Application and click on Invite.